 MCP for Blender
Creating photorealistic renders with MCP for Blender
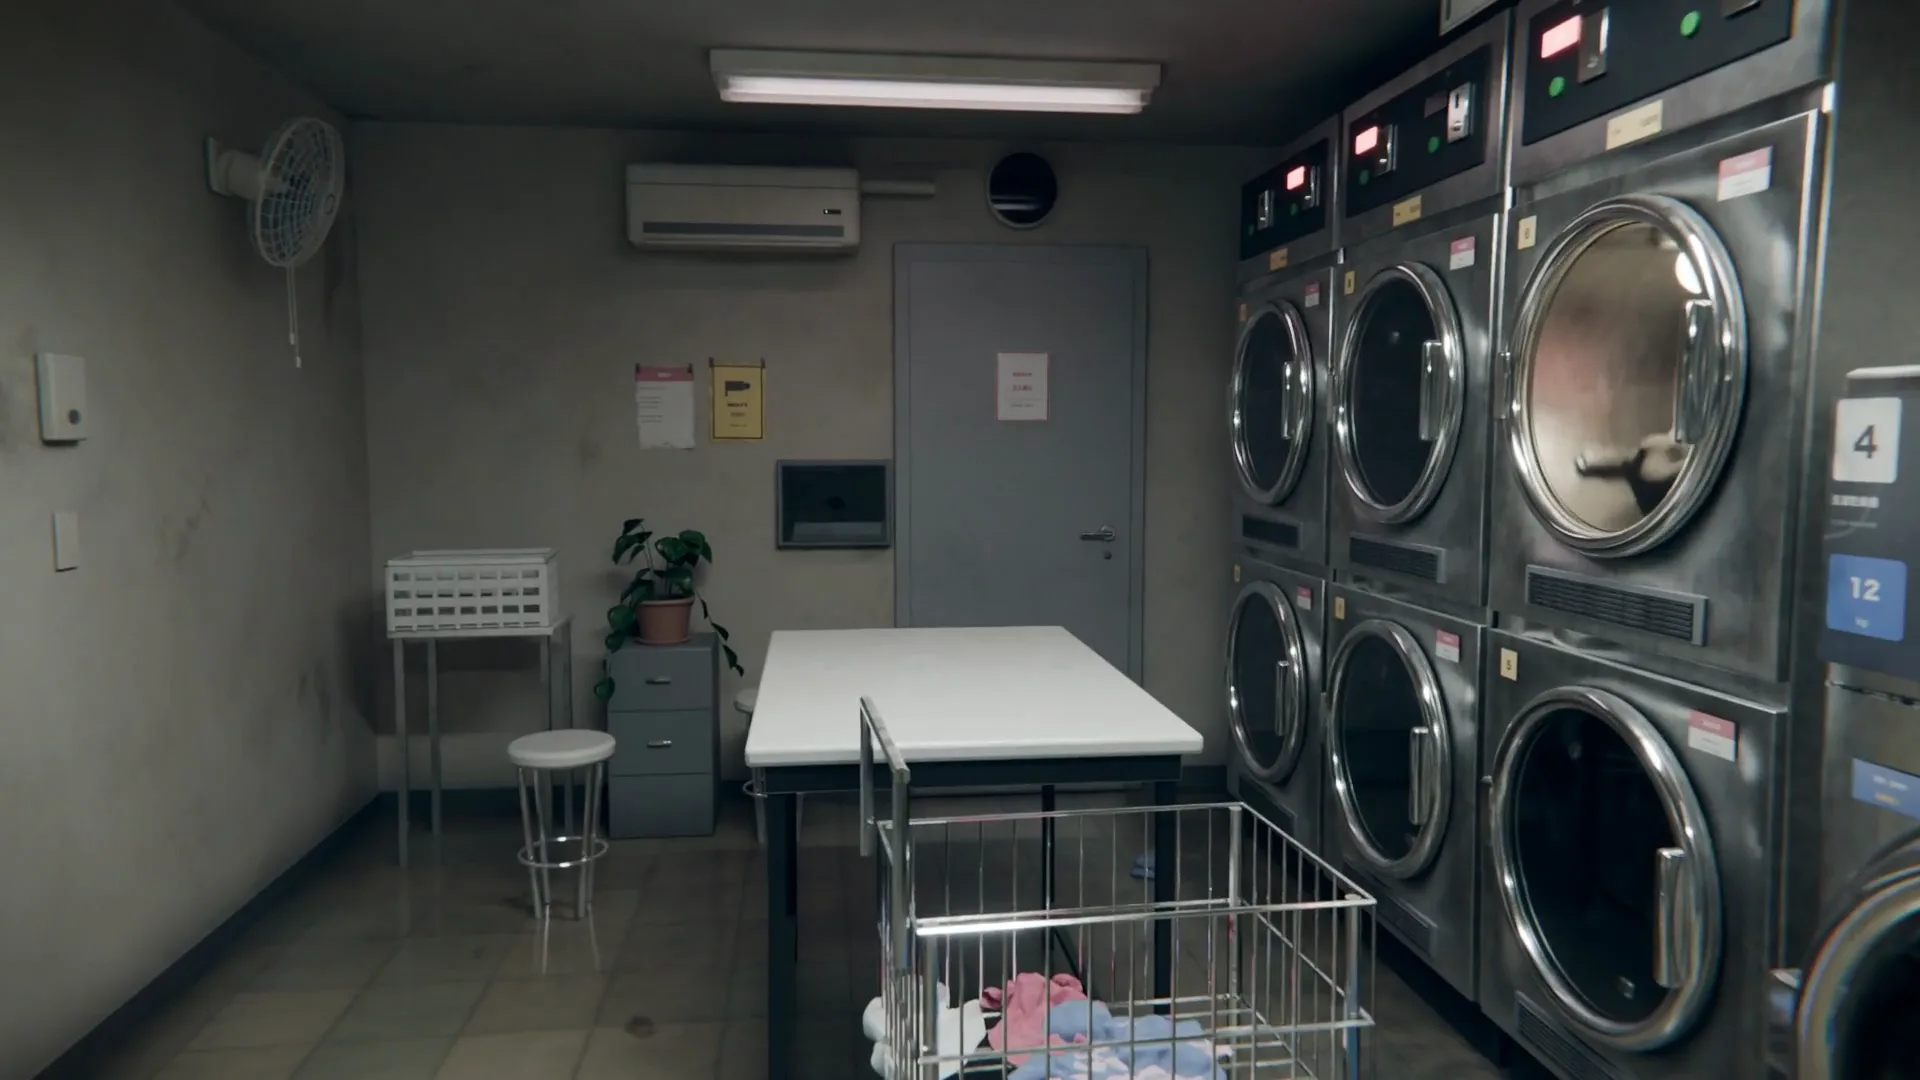
hayashimon built this rainy late-night laundromat without operating Blender by hand. Claude Opus 5.5 modelled, textured and animated the whole scene through MCP for Blender
Original post by hayashimon
Generate models in Blender with Premium
Get access to the best 3D generation models like Meshy, Tripo and Hyper3D Rodin.
hayashimon is an indie developer who builds with AI. On October 10 they posted a ten-second clip of this laundromat on X, with the steps behind it in the replies. Many people followed the steps and posted scenes of their own.
- 700K+
- views on the original post
hayashimon decided what looked right and said what to change. Claude did all the work inside Blender through MCP for Blender.
The seven steps
Each step adds a layer: the room, the objects, the surfaces, the wear, then motion.
| Step | Tools | What happens |
|---|---|---|
| 1. Reference | ChatGPT | A 2D image of the finished scene |
| 2. Layout | MCP for Blender + Claude | Claude reads the layout from the image and builds the room |
| 3. Blockout | MCP for Blender + Claude | Boxes first, then the space, the models and the materials, in that order |
| 4. Grime | MCP for Blender + Claude | Chipped paint, dust, drip marks and fingerprints, all procedural |
| 5. Printed matter | MCP for Blender + Claude | Signs and stickers made as prints, then faded and peeled |
| 6. Critique | You, MCP for Blender + Claude | Notes like "a lot of this looks unnatural"; Claude checks close-ups and fixes |
| 7. Motion | MCP for Blender + Claude | Dryer spin, light flicker, rain and a camera move, rendered to video |
Start from a reference image
hayashimon generated a 2D image of the finished scene in ChatGPT first. Then they gave it to Claude and asked for a late-night laundromat in Blender.
The image settles what a text prompt leaves open: where the washers and dryers sit, where the bench goes, how the light falls. Claude read the layout from it and built the room through MCP for Blender.
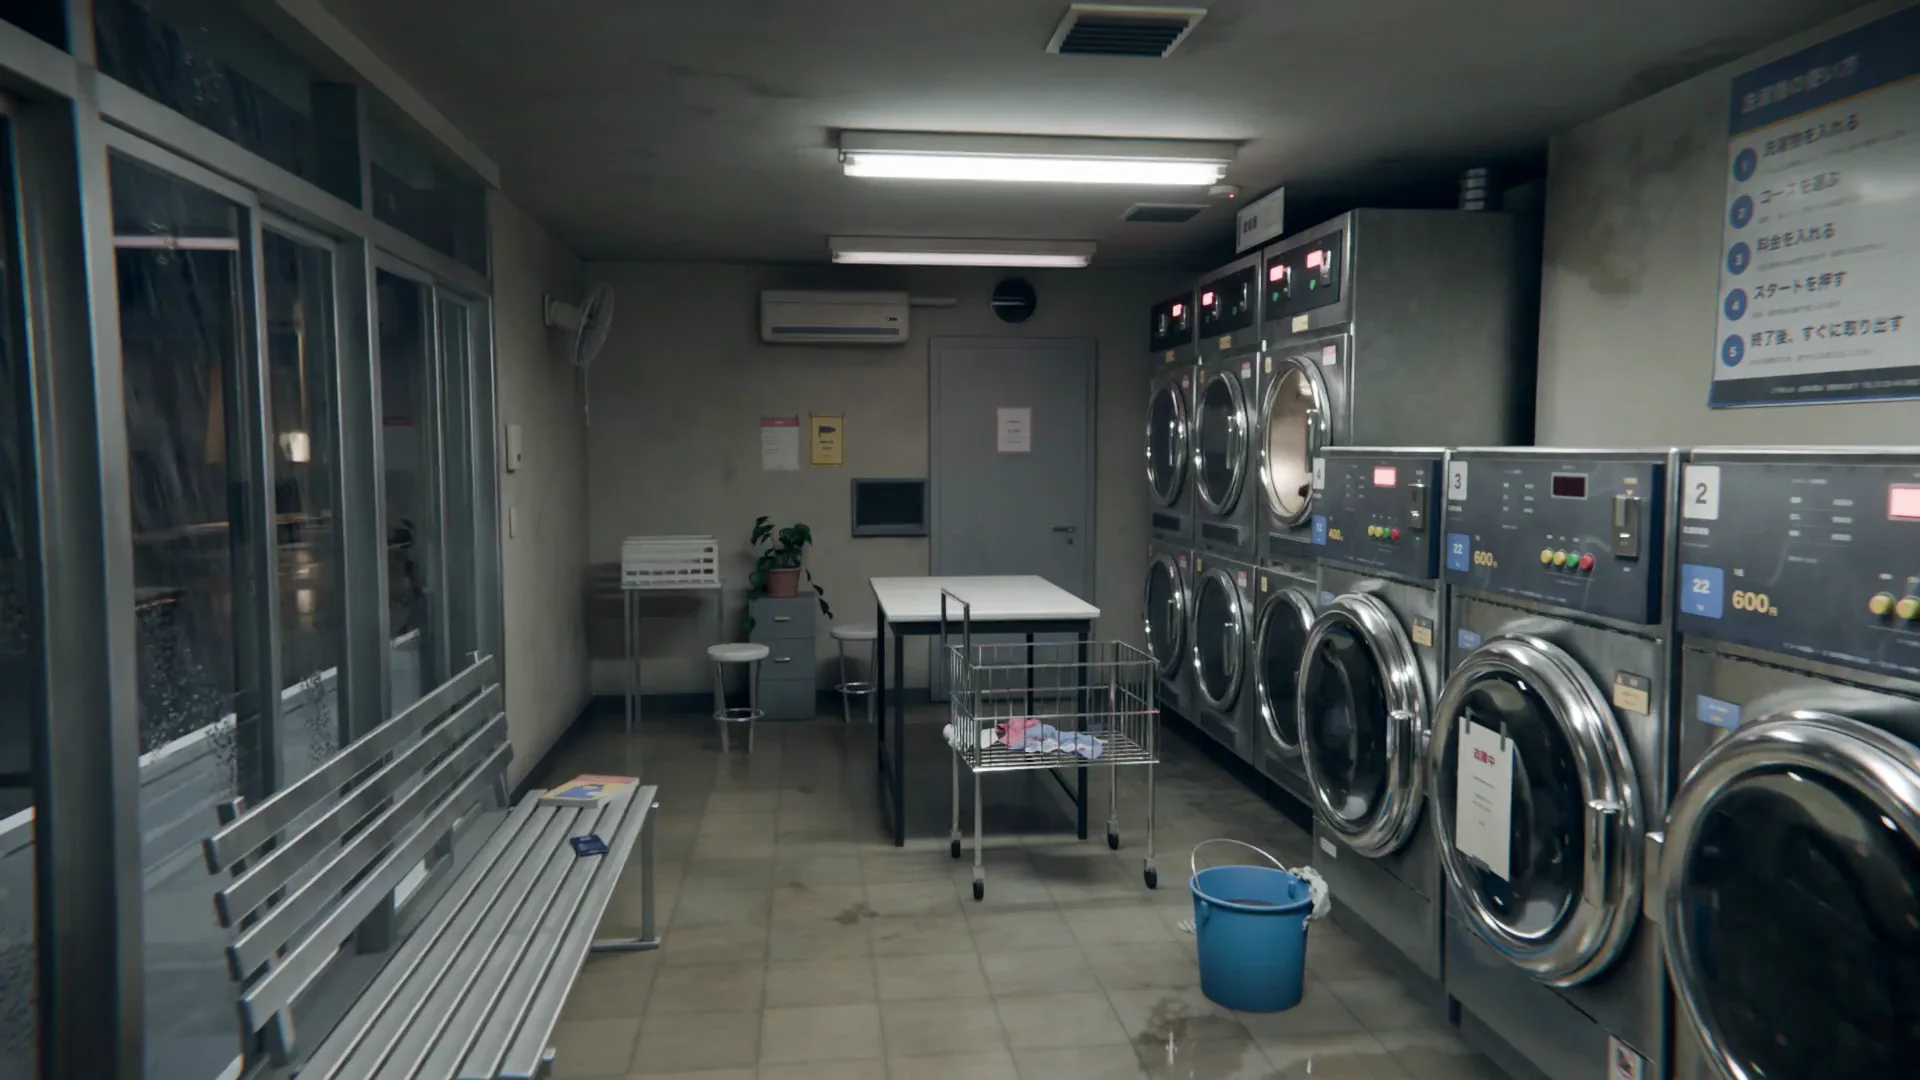
Block it out, then refine
Claude started with plain boxes. Then it raised the detail in a fixed order: the space first, then the models, then the materials.
Proportions are cheap to fix while everything is still a box. A detailed dryer in a room with the wrong proportions still looks wrong, and fixing the room later means redoing everything in it.
Add wear to every surface
Clean, new surfaces look like CG. Real places carry marks from use, so Claude layered them on: chipped paint, dust, drip marks and fingerprints.
None of the grime uses image textures. Claude built every layer procedurally, from shader nodes.
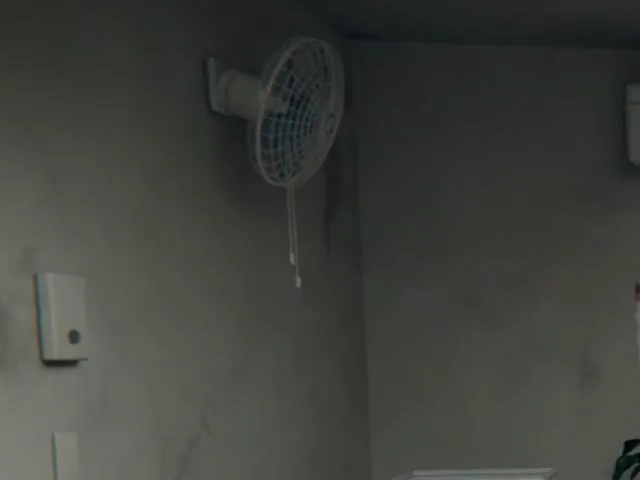 Walls · stains under the fan
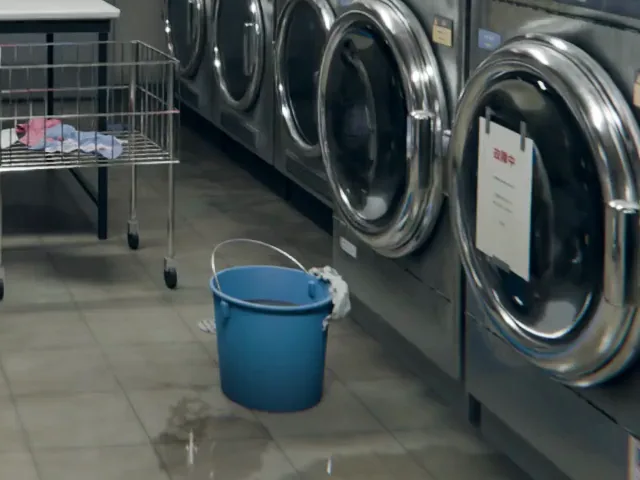 Floor · water around the bucket
Signs and stickers as prints
Claude made the signs and stickers as printed material first, then added fading and peeling, the way paper ages on a laundromat wall.
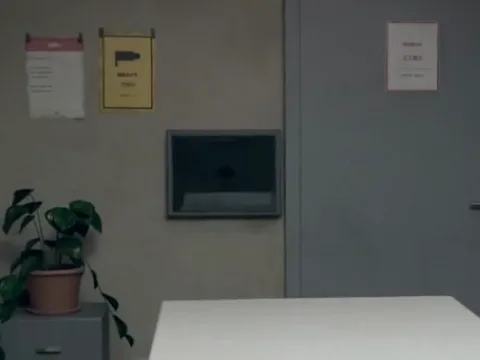 Notices · on the wall and door
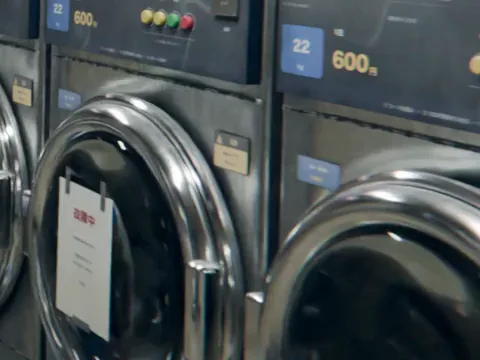 Labels · prices and an out-of-order note
Critique, and make Claude look closer
hayashimon then reviewed the scene and gave blunt notes, like "a lot of this looks unnatural". Claude checked the scene in close-up and fixed what it found.
MCP for Blender lets Claude look at the viewport, so a one-line note is enough for it to go and find the problems.
Add motion last
Once the still scene held up, Claude added motion: the one dryer turning, the fluorescent tube flickering, rain on the glass and a slow push-in. Then it rendered the video.
Try it yourself
hayashimon suggests giving Claude the seven steps as they are, then adding your own memories and favourite things to make the scene yours.
To start, install MCP for Blender and connect it to Claude.